How to Prepare Your Home for Summer Sales Photos
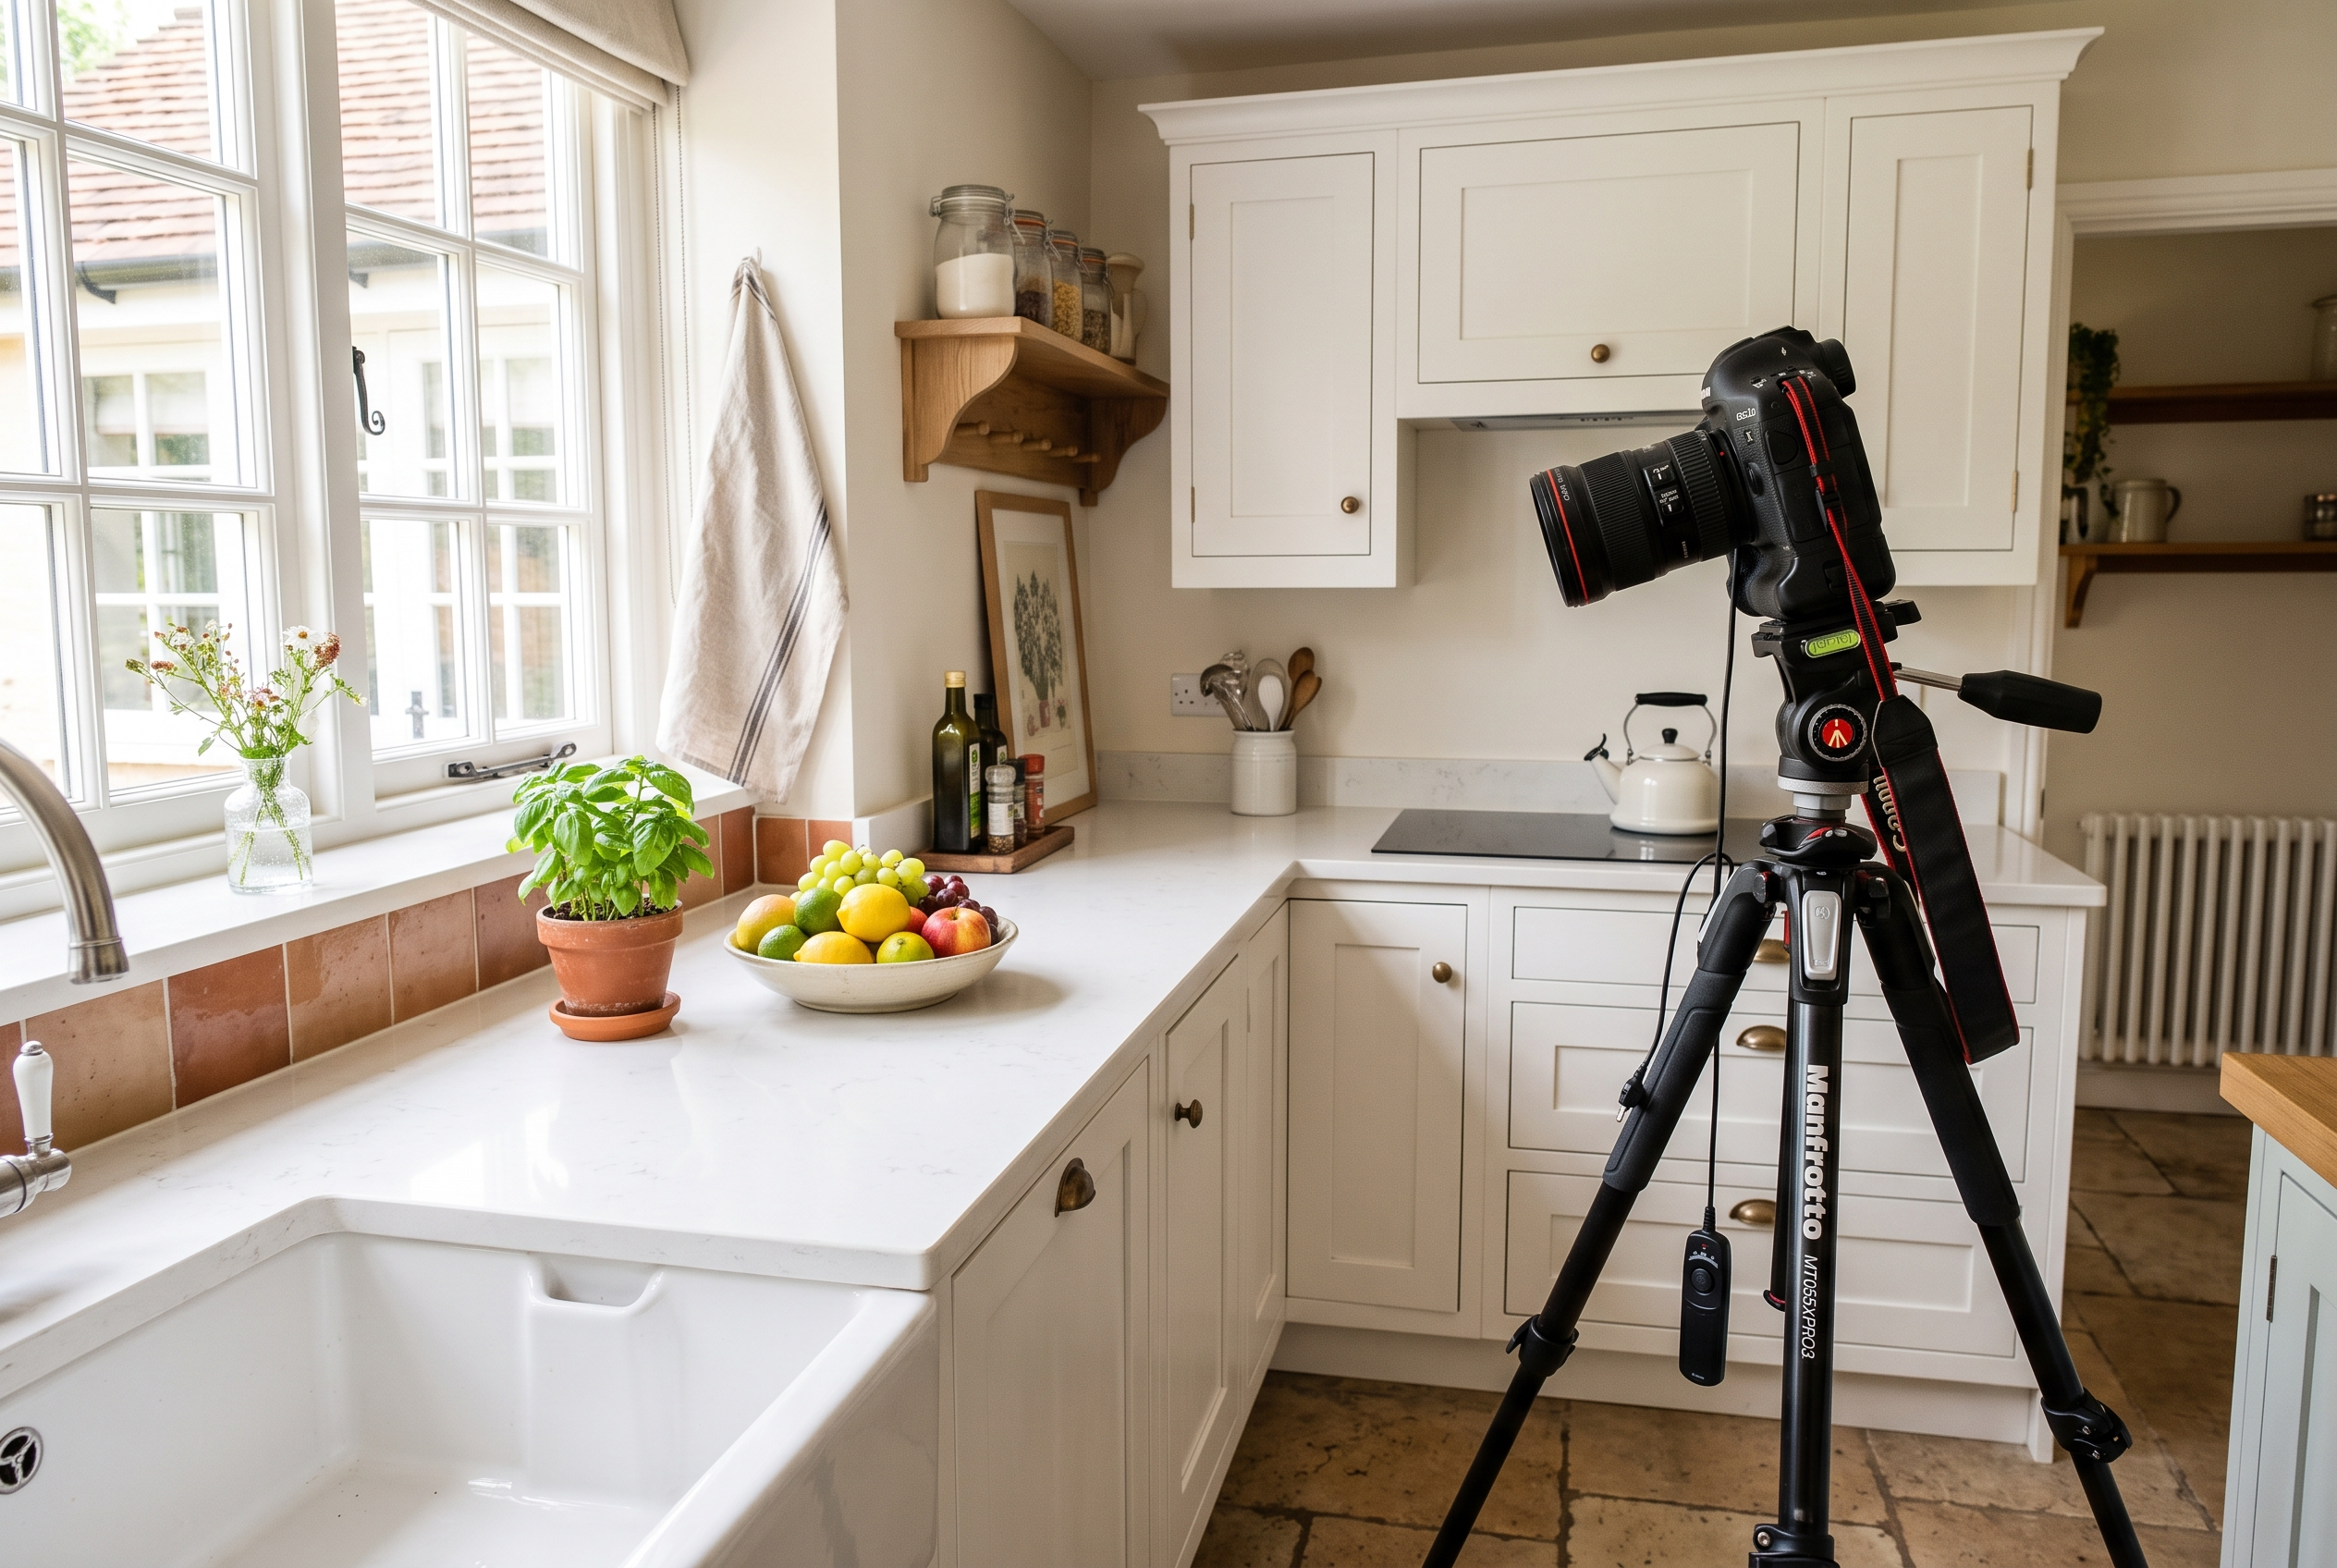
How to Prepare Your Home for Summer Sales Photos: A Vendor's Complete Guide
There's a reason so many of the most beautiful property listings you'll ever scroll past were shot in summer. The light is golden, gardens are in bloom, and a well-presented home practically sells itself — at least, that's the idea. The reality is that summer photography can be just as unforgiving as it is flattering. Harsh midday shadows, overgrown borders, sun glare bouncing off windows, and a garden hose snaking across the lawn can all quietly undermine what should be a stunning set of listing photos.
The difference between a good set of photos and a great set rarely comes down to the photographer. It comes down to preparation.
As estate agents, we've seen thousands of properties go to market, and we know exactly what makes a buyer stop scrolling — and what makes them keep going. This guide is our way of sharing that insider knowledge with you, so that when our photographer arrives, your home is ready to put its absolute best foot forward.
First, Understand How a Camera Sees Your Home
Before we get into the practical steps, it's worth pausing on something that many vendors don't initially consider: a camera doesn't see your home the way you do.
When you walk through your living room, your brain filters out the pile of post on the side table, the slight smudge on the patio door, and the recycling bin visible through the kitchen window. You're used to your home — you love it — and your eye naturally focuses on the things that matter to you.
A camera has no such loyalty. A wide-angle lens will capture everything in the frame with equal weight. That recycling bin? Front and centre. The smudged glass? It'll catch the light in a way that makes the whole room look dingy. The stack of books on the coffee table? It'll make the room feel smaller than it is.
This isn't a criticism — it's simply how photography works. And once you understand it, preparing your home becomes much more intuitive. You're not cleaning for the sake of cleaning; you're editing your home for the camera's eye.
Exterior Preparation: Kerb Appeal in the Summer Sun
Summer is genuinely your greatest ally when it comes to exterior photography — but only if the outside of your property is well managed. A bright July afternoon with a tired, overgrown front garden can actually look worse than a crisp winter morning with a tidy one.
Tackle the Garden Before Anything Else
Give yourself at least a week before the shoot to address the garden. This isn't about a full redesign — it's about control and neatness.
Mow the lawn as close to the shoot date as possible, ideally the day before. Freshly cut grass photographs beautifully and gives an immediate impression of a well-maintained property.
Edge the borders along pathways and flowerbeds. It's a small detail, but crisp edges signal care and attention in a way that buyers respond to instinctively.
Deadhead flowers and trim back overgrown shrubs. Overgrown foliage is one of the most common issues we see in summer shoots. What feels lush and abundant in person can look chaotic and encroaching in a photo.
Weed the driveway and pathways. Weeds pushing through block paving or gravel are surprisingly prominent in wide exterior shots.
Clear the Clutter You've Stopped Seeing
This is the category where most vendors are caught out, because these are the things you genuinely no longer notice.
Garden hoses — coiled up neatly or stored away entirely
Wheelie bins — moved out of shot, or at least to the side of the property
Children's outdoor toys, trampolines, and play equipment (if possible, temporarily relocate or tidy)
Plant pots that have seen better days — remove them rather than leave them as a distraction
Any tools, bags of compost, or DIY materials left out
A good rule of thumb: stand at the end of your driveway or the pavement outside and look at your home as if you've never seen it before. What's the first thing your eye is drawn to? If it's anything other than the house itself, that's what needs addressing.
Cars, Gates, and the Final Touches
Move cars off the driveway if at all possible. A clear driveway makes the property look larger and more accessible.
If you have a front gate, make sure it's open and, ideally, clean. A rusty or broken gate in the foreground of an exterior shot is a distraction that's hard to edit out.
A freshly painted front door makes a remarkable difference. If yours is looking tired, even a few hours with a tin of exterior paint can transform the first impression your listing makes.
Hanging baskets and potted plants by the front door are a lovely summer touch — but only if they're healthy and well-watered. Drooping plants suggest neglect rather than charm.
Interior Decluttering and Styling: Less Is Almost Always More
Inside the home, the guiding principle is simple: less is more. Not because your belongings aren't lovely, but because space and light are what sell rooms in photographs.
Start With a Ruthless Declutter
You don't need to pack everything away — you're not moving yet — but you do need to be selective about what the camera sees.
Clear all surfaces. Kitchen worktops, bathroom shelves, bedside tables, and coffee tables should be as clear as possible. A single decorative item or a small vase of flowers is fine; a collection of toiletries, mail, and miscellaneous objects is not.
Remove personal photographs. This isn't about erasing your personality from the home — it's about helping buyers picture themselves living there. Personal photos can subtly prevent that mental leap.
Edit the furniture. If a room feels slightly cramped, consider temporarily removing a piece of furniture. An armchair moved to another room for the shoot can make a living room feel significantly more spacious in photos.
Clear under beds and tidy wardrobes — particularly if the photographer will be opening them for internal shots.
Think About What Belongs in Each Room
One of the most common issues we see is rooms that have quietly accumulated items that don't belong there. The dining room that's become a homework station. The spare bedroom doubling as a storage room. The utility room stacked with boxes.
For the shoot, each room should tell a clear story about what it is and how it can be used. A dining room should look like a dining room. A bedroom should feel like a restful retreat. Clarity of purpose is enormously reassuring to buyers, particularly those who are trying to visualise how their own lives might fit into your home.
Small Styling Touches That Make a Real Difference
You don't need to hire a professional home stager, but a few considered touches can elevate your photos significantly:
Fresh flowers or a simple bowl of fruit in the kitchen
Neatly folded, coordinated towels in bathrooms
Cushions plumped and throws neatly arranged on sofas
A set dining table (even just with placemats and a central piece) in the dining room
Books arranged neatly on shelves, with any particularly cluttered sections tidied away
Lighting and Window Management: The Detail That Changes Everything
Lighting is arguably the single most important element of property photography, and summer brings both wonderful opportunities and specific challenges that are worth knowing about.
Clean Your Windows — Inside and Out
This sounds obvious, but it's genuinely one of the most impactful things you can do before a shoot. Dirty windows do two things in photographs: they reduce the amount of light entering the room, and they create a hazy, slightly dingy quality to any shot that includes the window in frame.
Clean windows, on the other hand, allow natural light to flood in cleanly, and when the photographer shoots towards them, the view outside looks crisp and inviting rather than murky.
Clean both sides — inside and out — and do it the day before the shoot to avoid any last-minute streaks from overnight dust.
Managing Summer Glare
Summer sun is beautiful, but direct sunlight streaming through a window during a shoot can cause significant glare that bleaches out part of the image. A good photographer will manage this, but you can help by:
Having sheer curtains or blinds available to diffuse harsh direct light without blocking it entirely
Scheduling the shoot for a time of day when the sun isn't directly hitting your most important rooms — your agent or photographer can advise on this based on which direction your home faces
Keeping net curtains clean — yellowed or dusty nets are very visible in photos
Turn On All the Lights
Even in summer, interior lighting matters. Turn on every lamp, ceiling light, and under-cabinet light in the house before the photographer arrives. Warm, layered lighting makes rooms feel inviting and ensures that darker corners don't appear as dead zones in the final images.
Replace any blown bulbs beforehand — a missing bulb in a pendant light or a dark corner in an otherwise bright room is a small thing that catches the eye in photos.
Summer-Specific Considerations: The Seasonal Details Vendors Often Miss
Summer introduces a particular set of challenges that wouldn't apply at other times of year. Here's what to watch for:
Shadows From Trees and Foliage
In summer, mature trees and large shrubs can cast strong, dappled shadows across your property — particularly in the morning and late afternoon. These shadows can make exterior shots look patchy and uneven.
If you have a tree or large shrub that's casting a significant shadow across your front elevation, discuss the timing of the shoot with your photographer. Midday light, while sometimes harsh, can actually be more even for properties with heavy tree cover.
Overgrown Climbers and Creepers
Wisteria, ivy, and climbing roses are gorgeous in theory, but when they've grown across windows or guttering, they can make a property look slightly neglected in photos. Trim back any climbers that are obscuring windows or architectural features you want to highlight.
Paddling Pools and Summer Equipment
It's the height of summer — the paddling pool might be up, the barbecue might be out, and the garden furniture might be scattered across the lawn. For the shoot, store away anything that isn't contributing to the scene. A neatly arranged garden furniture set on a clean patio looks aspirational. A deflating paddling pool next to an overflowing barbecue does not.
Hay Fever and Open Windows
Many vendors instinctively open windows on a warm day, which is lovely for ventilation — but for the shoot itself, consider whether open windows are helping or hindering. In some rooms, open windows create a lovely sense of airiness. In others, billowing curtains or a view of a less attractive external feature can be a distraction. Use your judgement, and talk to your photographer about what works best for each room.
Your Final Pre-Shoot Checklist
The morning of the shoot, work through this list before the photographer arrives. It takes about 30–45 minutes and makes a genuine difference to the final results.
Outside
[ ] Lawn mowed and edges trimmed
[ ] All bins moved out of shot
[ ] Garden hose stored away
[ ] Cars moved off the driveway
[ ] Front door clean and presentable
[ ] Any outdoor toys or equipment tidied away
[ ] Patio furniture arranged neatly
[ ] Pathways swept
Inside
[ ] All surfaces cleared
[ ] Beds made with fresh, unwrinkled bedding
[ ] Towels in bathrooms freshly laundered and neatly folded
[ ] Toilet lids down in all bathrooms
[ ] All lights switched on (including lamps)
[ ] Windows cleaned and smear-free
[ ] Floors vacuumed or mopped
[ ] Any personal photos temporarily removed
[ ] Kitchen worktops cleared, with one or two styled items only
[ ] Dishwasher emptied and door closed
[ ] Pet beds, bowls, and toys stored away
Final Checks
[ ] Walk through every room and look at it from the doorway — this approximates the camera's perspective
[ ] Check for anything that catches your eye immediately — if it catches yours, it'll catch the camera's
[ ] Open all internal doors to create a sense of flow and space
[ ] Put the kettle on — your photographer will appreciate it
A Final Word: You're Closer to This Than You Think
It's worth saying something that we tell every vendor we work with: you know your home better than anyone, and that's both your greatest advantage and your biggest challenge when preparing for photos.
You know which rooms catch the morning light beautifully. You know that the garden looks its best from the left-hand corner. That knowledge is genuinely valuable, and sharing it with your photographer will help them capture your home at its finest.
But familiarity can also make it hard to see what needs attention. That's exactly why we're here — not just to arrange the photography, but to walk through your home with you beforehand, to see it through a buyer's eyes, and to help you make the most of every room.
Summer is a genuinely wonderful time to bring a property to market. The light is long, the gardens are (with a little effort) at their most beautiful, and buyers are actively looking. With the right preparation, your listing photos can stop people mid-scroll and make them pick up the phone.
That's the goal — and it's entirely achievable. Get in touch with our team and we'll help you get there.